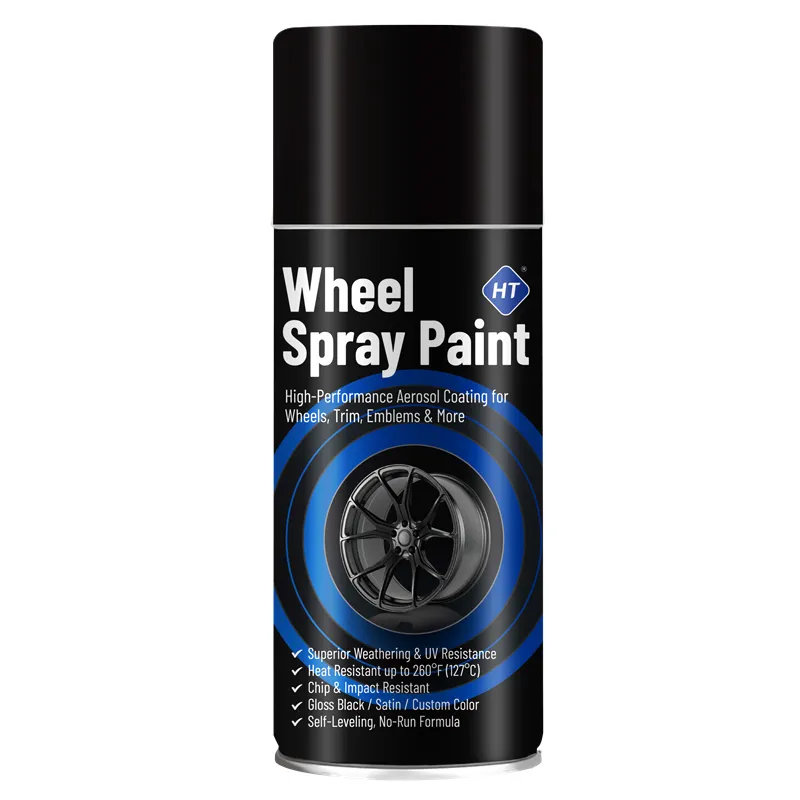
What paints work for camo, and what is the best finish for outdoor gear?
Camo paint must be durable, weatherproof, and non-reflective. The right coating depends on the surface:
1. Flat/matte paints: THE key requirement for camo is a matte finish — gloss reflects light and defeats the purpose. Use flat or matte spray paints specifically. Shine is the #1 camo mistake.
2. Paint type by surface:
- Metal (rifles, gun barrels, vehicle parts): Flat acrylic enamel or flat cerakote-style coatings. For gun barrels and suppressors that get hot, use high-temperature flat paint — regular paint burns off.
- Polymer/plastic (stocks, holsters, plastic gear): Plastic-adhesion primer + flat acrylic enamel. Some polymers need a plastic primer or they reject paint.
- Cloth/canvas (soft gear, gun cases): Fabric spray paint or flat paint designed for fabric. Regular paint cracks on fabric.
- Vinyl/synthetic: Adhesion primer first, then flat enamel.
3. Color palette: Flat earth tones — tan, olive drab, brown, black, khaki, and gray. Environmental-specific: desert (tan/sand/brown), woodland (green/brown/black), snow (white/gray).
4. What NOT to use: Glossy paints, metallic paints, and general-purpose paints without checking flatness and durability. High-gloss automotive clear over camo defeats the pattern — if you clearcoat, use matte clear.
Compatibility rule: primer and topcoat must be compatible systems; for firearms, check that the paint does not damage finishes or moving parts and use high-temp flat paint on barrels.
How do you prepare surfaces for camo painting?
Camo gear gets handled hard — prep is what makes the paint last:
1. Disassemble: For guns, remove the stock and handguards where possible; for vehicles, remove or mask parts that should not be painted (lenses, controls, threads, moving joints). Never paint trigger mechanisms, bolt faces, or sight lenses.
2. Clean: Degrease thoroughly. Gear carries oils from handling and shooting — any oil causes fisheye and peeling. Use degreaser/solvent, rinse, dry.
3. Degloss: Lightly sand metal and polymer surfaces (220-320 grit) to create adhesion. For polymer, a scuff pad works. Cloth needs no sanding but should be clean and dry.
4. Mask: Tape off areas that stay bare (barrel bore, ejection port, serial number, lenses, electrical components on vehicles).
5. Prime: Apply appropriate primer — metal/etching primer for metal, plastic primer for polymer, fabric primer for cloth. High-temp flat primer for barrels.
6. Environment: Work at 60-80F, low humidity, ventilated. Cold or humid conditions ruin matte finishes and cause blush (white fog).
Note on firearms: check local laws — painting a firearm does not change its legal status, but keep serial numbers visible and never modify functionality.
How do you create the camo pattern itself?
There are several ways to build a camo pattern, from simple to professional:
1. Freehand blobs: Spray irregular organic shapes with each color, building layers. Start with the lightest/base color, then add mid tones, then dark accents. Use torn cardboard or paper as freehand masks for soft edges.
2. Stencils: Commercial camo stencils (digi-camo, woodland, multicam-style patterns) give clean, repeatable shapes. Tape the stencil, spray the color, move the stencil, repeat. This is how you get professional patterns.
3. Natural materials: Leaves, branches, and netting laid on the surface create natural texture when sprayed over — the 'shadow' effect. Cheap and organic-looking.
4. Sponging: Apply paint with a sponge for soft, mottled transitions between colors. Good for blending on cloth and foam.
5. Layering order: Base color (lightest, covers everything) → mid tones → dark accents → optional light highlights (grass/edge highlights). Each layer should be light, letting previous layers show through at edges.
Pro tips:
- Less is more: 3-4 colors max; too many colors reads as noise at distance.
- Use matte colors with slight tonal contrast — patterns that match your environment's brightness.
- Practice on cardboard first to dial in your stencil positions and spray distance.
- Keep shapes varied in size — real camo mixes large and small shapes.
What is the correct spraying technique for camo work?
Technique details for clean camo:
1. Distance and pressure: Spray from 20-25cm, in light passes. Too close = runs and pooling; too far = dry spray and dusty finish. Thin coats are essential on gear that will be handled.
2. Stencil control: Hold stencils flat against the surface (masking tape or hand pressure). Lifted stencils cause paint bleed under the edge. Spray perpendicular to the surface.
3. Layer drying: Let each color dry 10-20 minutes before the next layer. Painting over wet layers smears the pattern.
4. Soft vs hard edges: Hard edges come from tight stencils/torn paper; soft edges come from sponging or spraying at an angle with loose natural materials. Mixing both looks most natural.
5. Final matte seal: For maximum durability (especially on handled gear), apply 1-2 coats of matte clearcoat. This protects the pattern from scratches and oil without adding gloss.
6. Cure: Let the finish cure 24-48 hours before handling and reassembly; 5-7 days for full hardness. For firearms, function-check after reassembly in a safe environment.
7. Maintenance: Touch up worn areas with the same colors. Camo is a working finish — wear is expected and touch-ups keep it effective.
What should B2B buyers know about the camo market?
Camouflage painting has a dedicated, repeat-purchase audience:
1. Market segments: Hunters and shooters (guns, bows, decoys, blinds), off-road/ATV owners, airsoft and paintball players, military/LE hobbyists, and waterfowl/deer hunters preparing gear pre-season. Seasonal: demand peaks before hunting seasons (fall) and at airsoft event times.
2. SKU strategy: Stock flat camo colors (tan, olive drab, brown, black, khaki, gray) in a 'camo palette', plus matte clearcoat, plastic primer, high-temp flat black (for barrels), and camo stencils — the pattern tools are a key add-on sale.
3. Kits sell: A 'camo kit' (3-4 flat colors + matte clear + stencil sheet) targets first-timers and builds basket size. Offer multi-camo environment packs (desert, woodland, snow).
4. Quality expectations: Flatness (no gloss), adhesion on polymer and metal, weather resistance, and high-temp capability for gun barrels. Document flatness (gloss units) and adhesion test data — serious buyers check.
5. Compliance: Confirm VOC compliance and correct labeling. Huotian's flat/matte enamel line, plastic-compatible coatings, high-temperature options, and matte clearcoats cover the complete camo job with documented performance.