Why is an RV or caravan a different coating job from a car?
Because the structure and the exposure are both different:
- Mixed substrates in one shell: gelcoat fiberglass sidewalls, aluminum siding, an EPDM or TPO roof membrane, plastic caps, and a steel frame underneath. Each needs its own preparation and primer chemistry.
- Storage, not mileage, drives the specification. A caravan sits outdoors for years, so UV, thermal cycling, and water intrusion matter more than road exposure.
- The box flexes, so coatings crack at seams, corner moldings, and penetrations unless the system tolerates movement.
- Repairs happen outdoors, with limited control over temperature, wind, and dust.
Substrate matching matters more than brand loyalty here.
Which substrates appear, and what does each one need?
Treat each surface on its own terms:
- Gelcoat fiberglass: remove wax and oxidation, abrade, use a bonding primer, then a UV-stable topcoat. Chalky gelcoat must be cut back or the film will not bond.
- Aluminum siding: clean and etch, or use an aluminum-compatible primer, then topcoat.
- Sound painted metal: scuff and recoat within the system window rather than stripping everything.
- EPDM or TPO roof membrane: not a paint substrate. It takes membrane-compatible roof coatings, not conventional spray paint.
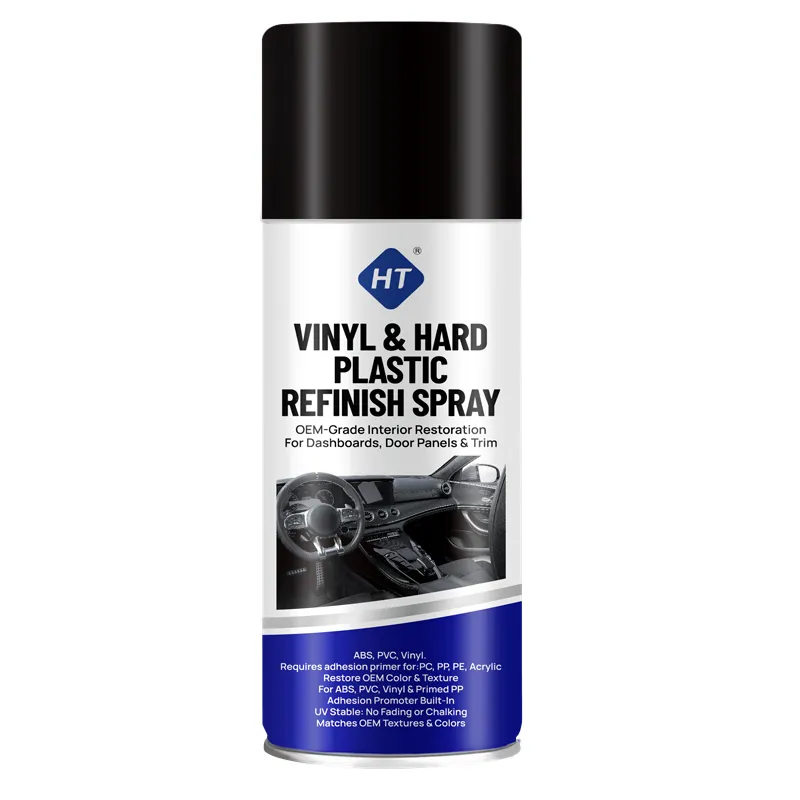
- Plastic caps and bumper covers: flexible parts need an adhesion promoter and a refinish product for vinyl and hard plastic.
- Steel frame and undercarriage: zinc-rich primer, epoxy primer, then topcoat where abrasion is expected.
Where do RV and caravan coatings fail first?
Water finds the same places every time:
- Roof penetrations and sealant joints. Coating over cracked sealant hides the crack and traps the water, so resealing comes before painting.
- Marker lights, vents, and trim screws, where the fastener hole meets two substrates.
- Corner moldings and panel seams, where movement opens a joint the coating cannot bridge.
- Rear panels and lower sides, which take road spray, tar, and stone chips.
- Undercarriage steel, where salt and standing water win unless the area was prepared properly.
- Decal edges. Feathering around old vinyl lifts within a year; remove the decal or accept the edge.
A failed coating on an RV is usually a water story before it is a paint story.
What is the correct sequence for a repair or repaint?
Work in this order and most problems disappear:
1. Find the leak first. Never coat over an active water path; the new finish will delaminate and hide the damage while it does.
2. Wash and remove wax, silicone, and tar. Silicone contamination causes fisheyes and is the most common reason a finish looks wrong from the first panel.
3. Abrade or cut back oxidation to a sound surface, then remove or convert rust before priming.
4. Finish all sealant and trim work before painting, so the coating goes over a completed joint.
5. Prime per substrate, then topcoat, respecting substrate temperature and overcoat windows.
6. Reinstall lights and fittings, then apply graphics last.
Outside work needs shade and a wind-free window; dust and direct sun remain the biggest variables.
What actually works on an RV roof?
The membrane decides, and so does its age:
- A membrane-compatible roof coating is maintenance: it extends service life and reflects heat, which lowers interior temperature measurably.
- A membrane at the end of its life is not repaired by coating. Chalking, penetrating cracks, and soft spots are replacement signals.
- Aluminum roof panels can be cleaned, etched, and coated with a metal system.
- Seams are handled by sealant and tape, not by extra coats. Thickness never substitutes for a sealed joint.
- Solvent-based products and wet membranes are a poor combination for anyone walking the roof.
A programme that reseals first and coats second lasts; one that coats over failed sealant looks good for one season.
What should a refit shop or RV builder specify and stock?
The specification list that prevents comebacks:
- A product per substrate, written down, including which panel received which system.
- UV and gloss retention stated for a vehicle stored outdoors, not a garage-kept one.
- Flexibility requirements for caps, fascia, and bumper covers, where a rigid topcoat cracks.
- Salt spray or chip resistance for the undercarriage and lower panels.
- Cure time against workshop throughput: a caravan bay cannot hold a vehicle for three days.
Consumables covering most refit work: HT-016 for plastic and fascia, HT-017 zinc-rich for frame and undercarriage steel, HT-031 epoxy primer as the intermediate, HT-027 for hard-wearing topcoat, and HT-012 for workshop markings. Suppliers who state which product goes on which RV substrate, and document it, keep the refit accounts others lose to callbacks.