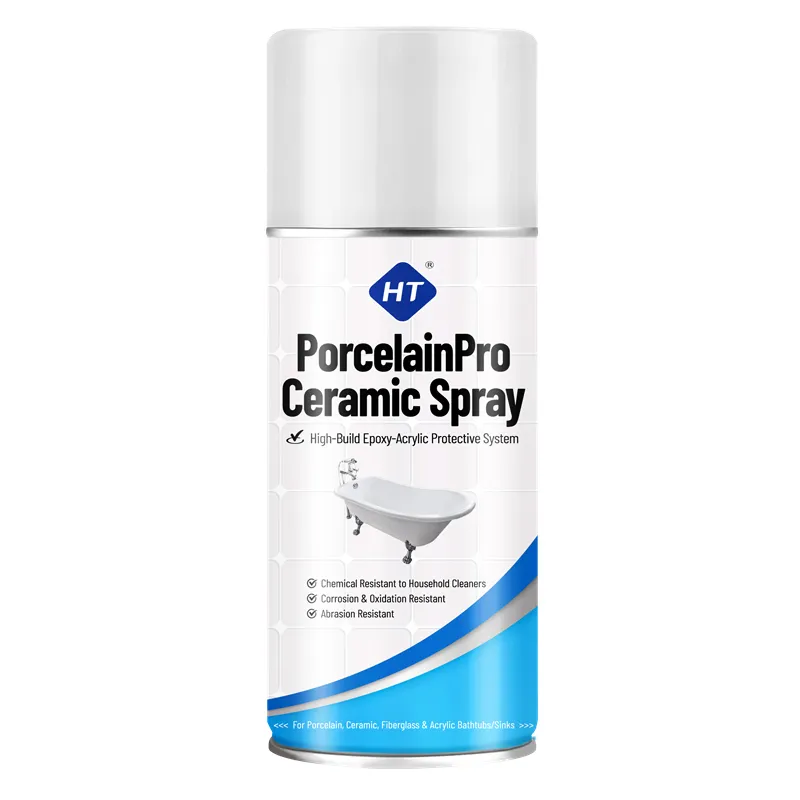
Why do bathtubs and tiles need specialty refinishing products?
Bathroom surfaces — porcelain, ceramic tile, fiberglass, and acrylic — are dense, glossy, and constantly exposed to water, soap, and cleaning chemicals. General spray paint fails on them for three reasons:
1. Adhesion: These surfaces are too smooth and non-porous for regular paint. The paint cannot key into the surface and peels, especially where water pools.
2. Moisture: Bathrooms are wet environments. Ordinary paint softens and blisters under standing water and steam. Bathroom-specific coatings are formulated to resist continuous moisture.
3. Chemical exposure: Cleaners, soaps, and hard water attack weak paint films. Refinishing products use hard, chemical-resistant resin systems (epoxy, acrylic urethane, ceramic-filled coatings).
What works:
- Epoxy-based bathtub refinishing kits: The professional standard — durable, moisture-proof, chemical-resistant. Some are brush/roller applied, some sprayable.
- Ceramic/acrylic refinishing sprays: Advanced aerosol formulas with ceramic or urethane reinforcement for hard, glossy finishes.
- Tile-specific paints: For ceramic wall tile, epoxy or urethane-based tile paint bonds and seals grout.
What fails:
- Regular wall/latex paint (peels in days)
- General-purpose spray paint (too soft)
- Oil-based enamel without bathroom-rated durability (softens in steam)
- Any paint over un-prepped glossy surfaces
The honest expectation: a DIY refinish can last 3-5 years with perfect prep; a professional reglaze (sprayed epoxy by a pro) lasts 10-15 years. Products marketed specifically for tubs and tiles are the only ones worth trying.
How do you prepare a bathtub or tile surface for refinishing?
Bathroom refinishing lives or dies by prep. The process:
1. Clean aggressively: Remove soap scum, hard water deposits, and oils with a strong bathroom cleaner or degreaser. Soap scum is invisible but destroys adhesion. Rinse thoroughly and dry completely.
2. Repair damage: Fill chips and cracks with epoxy filler rated for wet areas. Sand smooth. Do NOT try to paint over active mold — treat and remove it first, or it bleeds through.
3. Degloss the surface: This is the critical step. Sand the glossy porcelain/tile with 220-320 grit (wet sanding works well) or use a liquid deglosser/etching cleaner made for this purpose. The surface must feel dull and rough — gloss = peel. For fiberglass, scuff lightly with fine grit (400).
4. Clean again: Wipe with a tack cloth or solvent wipe to remove sanding dust. Any dust trapped under the finish shows as rough spots.
5. Mask everything: Mask the tub surround, tile edges, floor, fixtures, and any chrome — overspray on bathroom fixtures is hard to remove. Use plastic sheeting for large areas.
6. Ventilate: Bathroom refinishing products have strong fumes. Run an exhaust fan, open windows, and wear respiratory protection.
7. Dry environment: Work when the bathroom is dry (low humidity). Steam from a recent shower will ruin the finish — do not refinish right after bathing.
What is the correct application technique for tub refinishing spray?
Application technique for a smooth, durable tub finish:
1. Primer (if required): Some systems include an adhesion primer/etch coat. Follow the product's steps — the etch coat is what makes the topcoat stick to porcelain.
2. Spray pattern: Hold the can 20-25cm from the surface, moving in even overlapping passes. Apply THIN coats — tub finishes fail from thick, uneven layers that trap solvent and blister.
3. Multiple coats: 3-4 thin coats, 10-20 minutes apart, building a uniform film. Do not rush — each coat must flash before the next.
4. Corners and edges: Spray corners and edges first (light dusting) to prevent runs. The drain area, rim, and tile-to-tub joints are run-prone.
5. Cure properly: THIS is where most DIY jobs fail. Bathtub epoxy needs real cure time — typically 24-48 hours before ANY water contact, and 3-7 days before regular use. Do not shower or run water during cure. One drop of water on a curing finish = permanent mark.
6. Reinstall fixtures: Put back the drain cover, overflow plate, and fixtures only after full cure.
7. Maintenance: Clean with mild, non-abrasive cleaner. Avoid harsh scrubbing pads and acidic cleaners for the first month. Touch up chips early before water gets under them.
What are the differences between DIY refinishing and professional reglazing?
Understanding the difference sets honest expectations:
1. Product chemistry: Professional reglazing uses two-part epoxy or urethane systems sprayed with professional equipment, giving a thicker, harder, more durable film. DIY aerosols are single-part, thinner, and less durable — but far cheaper and doable in a weekend.
2. Cost: Professional reglazing: $300-600 per tub. DIY aerosol kit: $30-80. The DIY route makes sense for rental properties, quick flips, and budget updates.
3. Durability: Pro reglaze: 10-15 years. DIY aerosol: 3-5 years with perfect prep. Harsh cleaning and hard water shorten both.
4. Skill: Pro work includes full prep, spraying in a controlled environment, and experience with runs and defects. DIY is achievable but demanding — the prep and cure discipline matter more than the spraying.
5. Coverage areas: Pro spraying handles large areas (full bathroom tile walls) better; aerosol is best for tubs, sinks, small tile sections, and touch-ups.
For B2B buyers, this split is the market: sell professional-grade aerosols to DIYers and property managers, and position premium systems for the trade. A well-documented DIY kit with honest cure instructions reduces the failure complaints that plague this category.
What should B2B buyers know about the bathroom refinishing market?
Bathroom refinishing is a high-value niche with strong repeat demand:
1. Demand drivers: Homeowners avoiding $5,000+ bathroom remodels, real estate investors flipping properties (a reglazed tub sells a bathroom), rental property maintenance between tenants, and aging homes with stained/dated tubs. The 2020s housing stock is aging into refinishing age.
2. SKU strategy: Stock a complete refinishing system — cleaning/etching prep, adhesion primer, white/off-white refinishing sprays (plus popular colors), and a durable topcoat. Add repair kits (epoxy filler) for chips and cracks — the #1 companion purchase.
3. Color trends: White and off-white dominate (clean look, matches any decor); gray, bone, and black are growing. Color-matching existing tubs is a service opportunity.
4. Education is everything: This category has the highest failure rate from skipped prep or rushed cure. Provide printed/QR step guides and honest cure times. Sellers who document well win the professional and repeat customer.
5. Compliance: Confirm VOC compliance (CARB, EU) and proper safety labeling — bathroom refinishing products have strong solvent content. Huotian's ceramic/porcelain refinishing line (HT-003 PorcelainPro and companions) is built for bathroom surfaces with documented prep and cure guidance.